Helder Game Tech
Quick solder flex cable for Picoboot Nintendo GameCube DOL-001| Helder Game Tech
👍 Shop with confidence - We're here for you 🤗
- 🚚 Tracked shipping (limitations apply) Learn more
- ⭐⭐⭐⭐⭐ Rated "Excellent" on Trustpilot
- 📦 Fast dispatch - Normally same business day !
- 🛡️ 2 Year warranty (terms apply) - More info
- 🤑 Join our rewards program > Get discounts !
*Account required, some products excluded
👮♀️ No import charges for many countries !
- 🏦🇪🇺/🇳🇴/🇦🇺 - We are tax registered in the EU, Norway & Australia - Prices include VAT/GST tax - More info
Features:
- Quick install flex cable for installing Picoboot mod into the GameCube.
- Compatible with GameCube model DOL-001
- Makes solvering to the IPL chip much easier, no wires.
- Includes adhesive to mount this flex with the pico soldered.
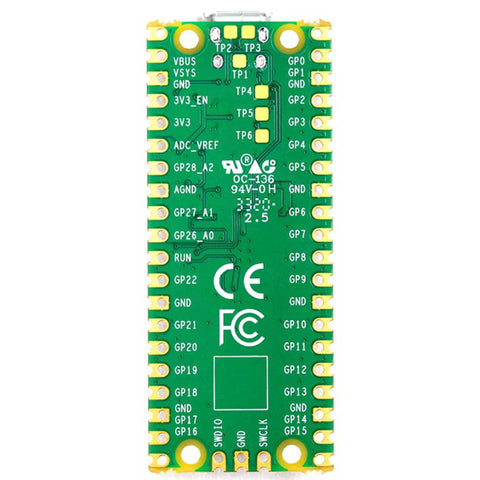
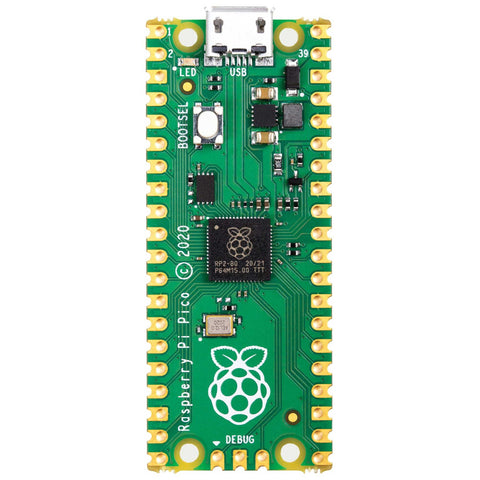
- Raspberry Pico not included - Available separately.
Description:
This easy install flex cabble from Helder makes soldering the Picoboot mod much easier, there is no wires needed, you can simply create a solder bridge from the relevant pins on the IPL chip to the solder pads on the ribbon. The Pico board also installs in the same way, soldering from the pads on the Pico to the pads on the flex ribbon, no wires.
Warning: Soldering is required to install a Pico - Soldering difficulty level medium. Soldering experience is required even with an easy install flex, the flex simplifies the installation by having no loose wires to run aroung the console, making it easier to fit, but the difficulty of soldering is not solved with the use of this product. Install involves soldering to legs of an IC chip on the motherboard which are quite small, particularly for the less experienced in soldering. It is recommended you seek a professional installer if you are not used to soldering small pins. A good quality temperature controlled soldering iron and flux is advised. Incorrect installation couild result in things such as solder bridging pins on the IC chip, bad soldering may damage the motherboard once turned on, installation of a Pico into a Gamecube is done at the installers own risk.
Please note that the Picoboot mod is still a beta release and community project subject to change, the creator Webhdx is working on new firmware to fix a minor issue with the in game reset (IGR) and this this firmware may require the soldering of one wire in the future, there is no ETA on future firmware for Picoboot, the existing firmware is stable and the update will likely only resolve this IGR function or add future functionality that would be optional.
When installing a Pico into the GameCube you will need to remove the heatsink, in doing so the thermal pads might become damaged, or they might simply be warn and in need of replacement, we offer thermal pads specifically for the GameCube in store, it is recommended that you purchase new thermal pads when fitting a pico.
This flex is for the non W version of Pico
| Platform | |
|---|---|
| Colour | |
| Manufacturer | Helder Game Tech |
| EAN | 5056026476119 |
| Weight | 10g |


